

Vokė Valley Loop: A Gentle 4km Walk
Mostly flat terrain with three viewpoints overlooking the river. Best for first-time visitors and those preferring easier routes.
What shoes work best on gravel paths. How to avoid blisters on longer walks. Pacing strategies that let you enjoy the scenery without getting tired.
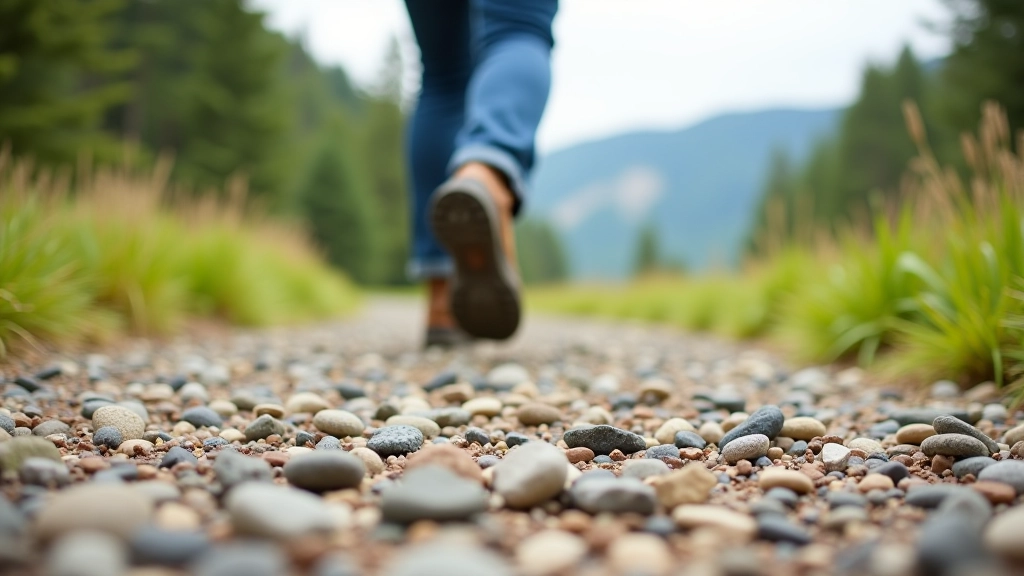
The right footwear makes all the difference when you're exploring the Neris Valley trails. We've walked these paths ourselves, and we know what works. Whether you're tackling the gentle 4km loops or the longer viewpoint trails, proper preparation keeps you comfortable and confident.
It's not complicated — it's about understanding your feet, choosing appropriate shoes, and knowing a few practical techniques. Most people don't realize how much their experience improves once they sort out these basics.
Gravel demands different support than paved paths
Friction and moisture are your enemies — we'll show you why
Walk further by knowing when to speed up and when to slow down
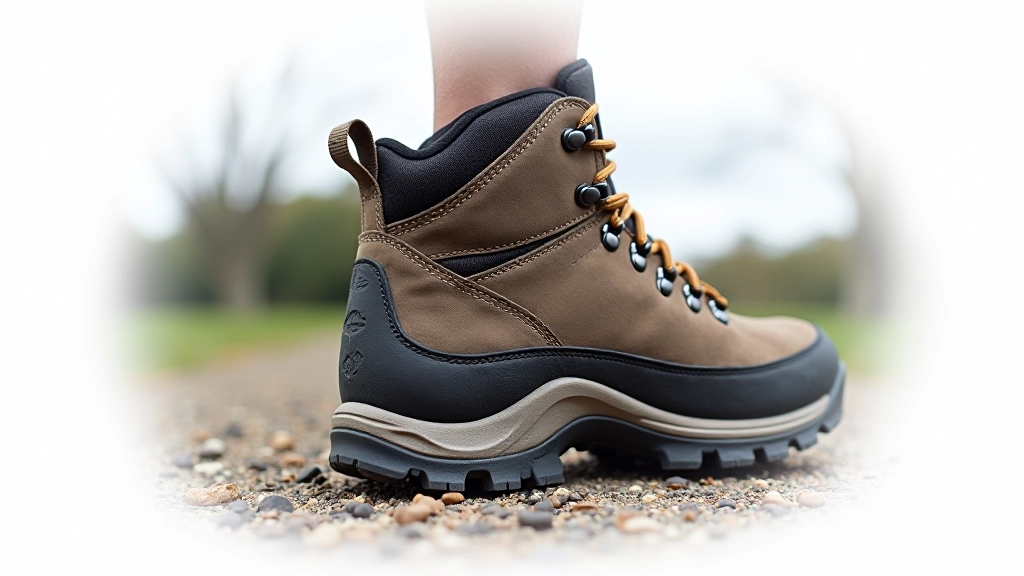
Most valley trails have a mix of packed gravel, dirt, and occasional rocky patches. You'll need shoes that provide real ankle support — not just comfort for walking around town. The difference between a hiking shoe and a regular sneaker is stability.
Look for these features: a stiffer midsole that doesn't flex too much, tread pattern designed for loose surfaces, and genuine ankle support that keeps your foot centered. Don't worry about weight — lighter isn't always better on uneven ground. A 320-gram shoe with good cushioning beats a 250-gram shoe that leaves your feet sore.
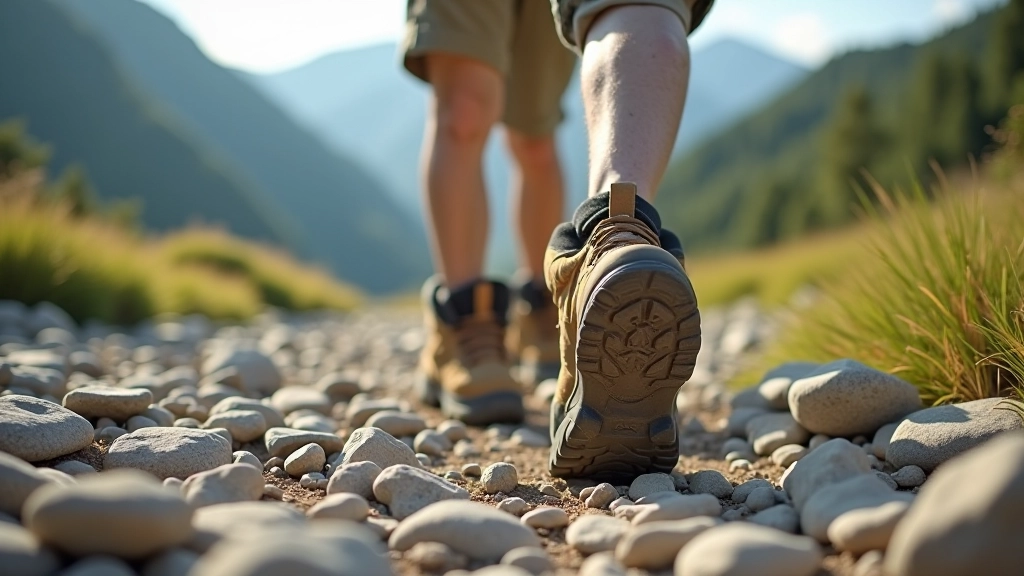
Blisters happen when friction creates heat and moisture builds up inside your shoe. You can't eliminate friction entirely — it's part of walking — but you can manage it. The key is moisture control combined with proper sock selection.
Merino wool or synthetic blend socks are non-negotiable. Cotton holds moisture and promotes blistering. You'll notice the difference within the first 30 minutes of walking. Wool keeps your foot dry even when you're sweating, and it doesn't develop odor like cotton does.
Apply a thin layer of blister prevention balm — not thick, just enough to reduce friction between sock and skin. Focus on your heels, the sides of your big toe, and anywhere your shoe rubs during movement. Before heading out, check that your shoes fit properly with your thicker hiking socks. Too tight creates pressure spots. Too loose allows excessive movement.
Walking 6km isn't about speed. It's about sustainable effort. You're here to enjoy the river views, not race. Most people start too fast and hit a wall halfway through. Instead, use this approach.
Your first kilometer is a warm-up. Walk at a conversational pace where you can talk without getting winded. This prepares your muscles and gives your feet time to settle into your shoes. Don't feel rushed.
Once you're warmed up, pick a steady pace you can maintain. You should be able to hold a conversation but not easily. This is your sustainable pace. For most people on valley trails, that's around 4-4.5 km/h on flat sections.
Don't wait until you're exhausted. A 5-10 minute break every 45 minutes prevents fatigue from building up. Sit down if possible. Remove your shoes and let your feet breathe. Drink water. You'll actually finish stronger.
Going uphill? Take shorter steps and slow your pace. Your heart rate will climb even at a reduced speed — that's normal. Don't try to maintain your flat-ground pace on elevation. Coming downhill, take it slowly. Let your legs absorb impact gradually. Fast descents destroy your knees.
The Neris Valley trails have specific conditions you should know about. Mornings are wet from dew or overnight rain. The gravel is sometimes loose, sometimes compacted. Shaded sections stay muddy longer.
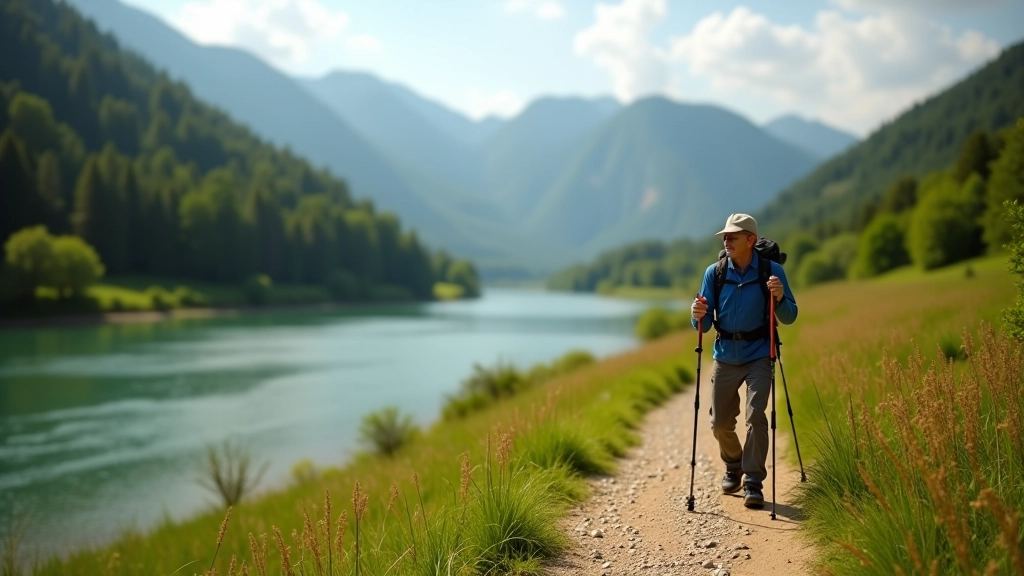
Wear gaiters if you're concerned about dirt getting into your shoes — they're lightweight and don't slow you down. Bring trekking poles if you're doing the longer routes. They reduce impact on your knees by up to 25%, which means less foot fatigue too. They're not just for mountains.
Check your shoe laces before you leave. Loose laces cause your foot to shift inside the shoe, which creates friction and blisters. You should be able to fit one finger between the lace and your foot when they're properly tightened.
Don't debut new shoes on a 6km walk. Wear them around town for 10-15 km before your trail day. Your feet need time to adapt.
Bring a small blister kit — moleskin, elastic tape, and pain relief. You'll rarely need it, but having it gives you confidence.
Merino wool or synthetic. Not cotton. Ever. The difference is profound and immediate.
Don't start dehydrated. Drink 200-300ml of water 30 minutes before walking. Bring 1-1.5 liters for a 6km walk.
Recent rain means muddy sections. Adjust your expectations and shoe choice accordingly. Call ahead if trails aren't maintained regularly.
Do some gentle foot rotations and calf stretches before you start. Five minutes of light movement prepares your body.
Early morning walks mean trails are quieter and you'll have better light. Plus, morning air is cooler, reducing excessive sweating.
Choose activities that match your fitness level, check local conditions before travelling, and speak with your GP if you have health concerns before starting a new activity. Every person's body responds differently to walking. If you experience unusual pain or discomfort, stop and rest. When in doubt, take it slower.
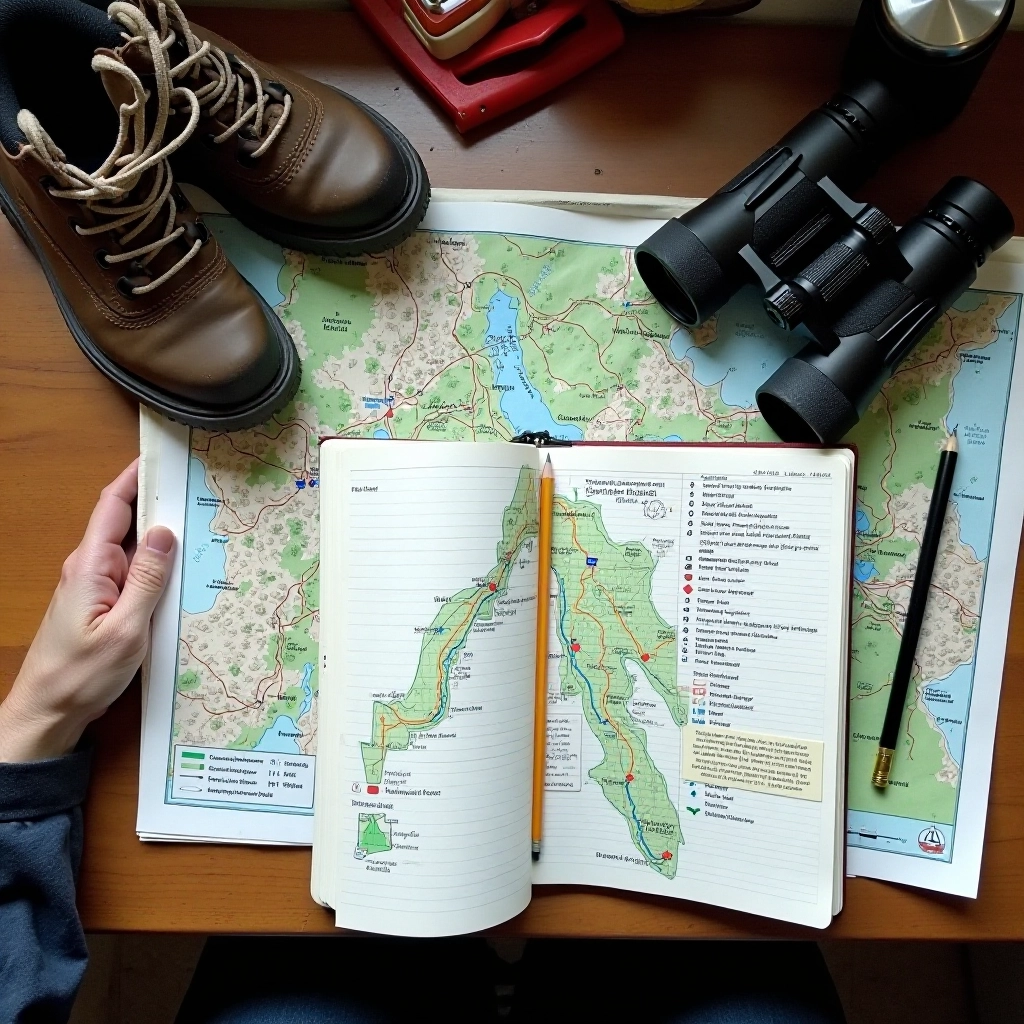
Author
Editorial Team
Written by the Neris Valley editorial team, focused on practical trail guidance and honest information for riverside exploration.
Explore other trail resources and scenic routes in the Neris Valley
Mostly flat terrain with three viewpoints overlooking the river. Best for first-time visitors and those preferring easier routes.
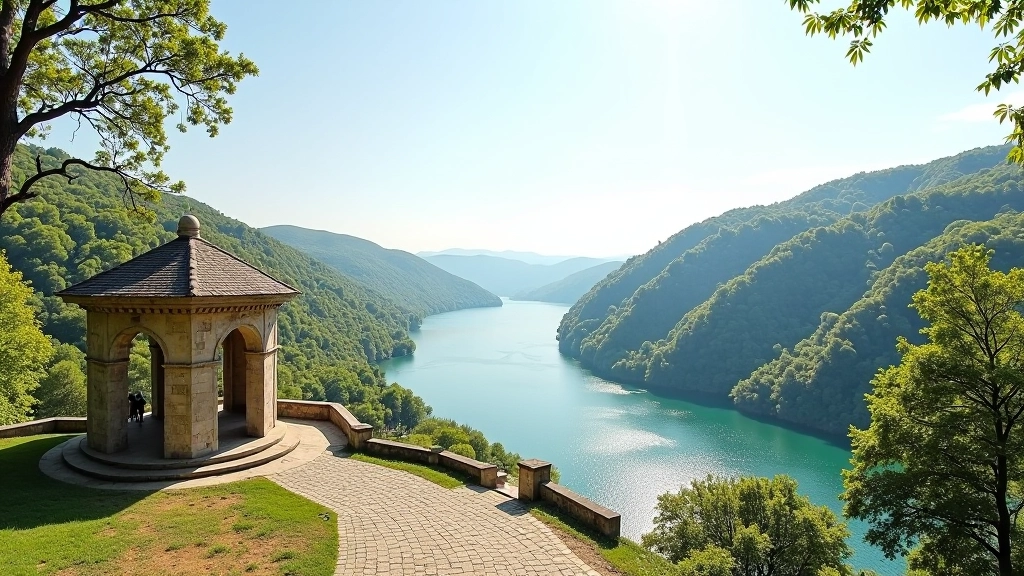
Passes through two restored pavilions and ends at a riverside picnic area. The path includes gentle elevation changes.
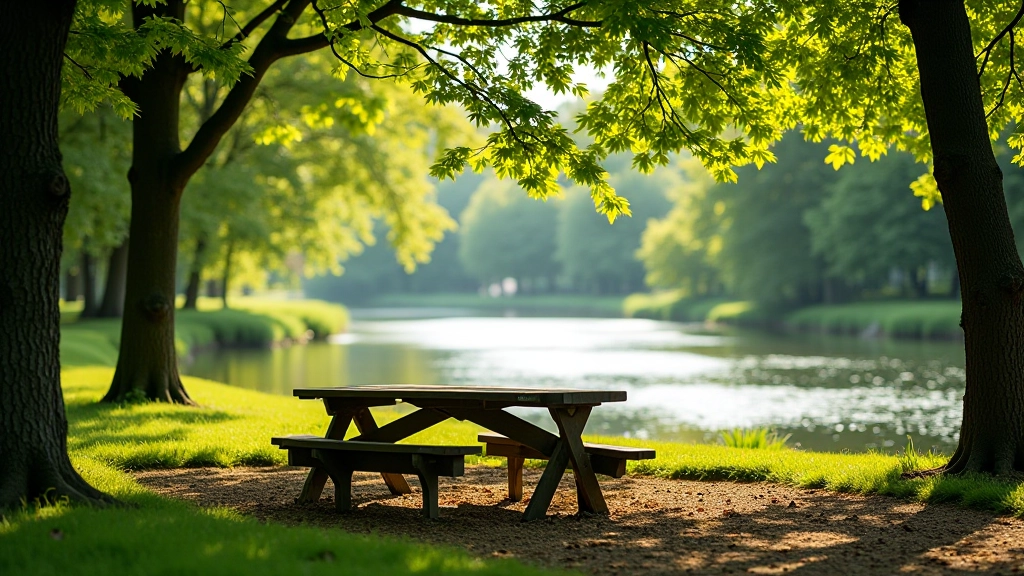
Guide to five designated picnic areas with facilities, water access, and shelter. Perfect for breaks during longer walks.
You've got the knowledge about footwear and pacing. Now it's time to get out there and experience these trails. Start with the easier routes, build your confidence, and you'll be tackling longer walks in no time.